If you have limited developer access to a SharePoint Team Site or no access to SharePoint Designer, this client-side workaround allows you to replace a set of standard text values with images in a list view. As an example, this script is useful for adding graphical representation of status indicators in a simple status dashboard.
Once the Script.js file has been created, you need to add content editor webpart on the list view webpart page. Edit the webpart and on the Toolpane properties in the Content Link, provide the url of the site assets where the file has been stored. Click on Apply and hit OK.
You will be able to see the change from text to image.
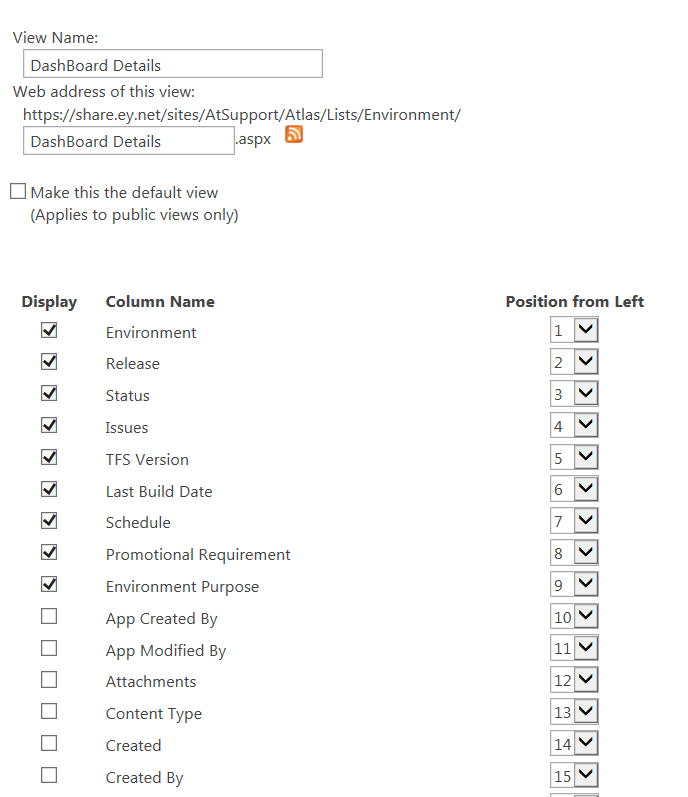
Let’s assume we have a list named Environment with a column named Status which is lookup from another list on your site. The Status column can contain the following text values:
- Active
- InProgress
- Complete
- Cancelled
- Scheduled
We have also uploaded a set of four corresponding images named green.png, yellow.png, red.png, amber.png and blue.png to an image library / site assets in the Team Site. When the list view is displayed for Environment, the text values for status column should be replaced with following corresponding images.
- Active – green.png
- Cancelled – yellow.png
- Complete – red.png
- InProgress – blue.png
- Scheduled - amber.png
Add a Content Editor Web Part to the page containing list’s standard view and include the following script in the source. Once the page is loaded, the values displayed in the Status column are replaced with the appropriate image.
You can get the Jquery script from the following site - http://code.jquery.com/jquery-latest.min.js and store it in the site assets library of the Team site.
You can place the below code in another Script.js file and store it in the site assets.
 Copy the path of the file in clipboard which looks something like this - http://<server-name
>/sites/Support/SiteAssets/Script.js
You will be able to see the change from text to image.
Note: As a warning, if the list view displays a large amount of data, then this script may cause a noticeable delay as it cycles through the HTML to perform the search and replace.